Debugging
About this Project
You will need to come into the lab personally to debug 2 soldered circuits and 1 breadboarded circuit and get checked off by an officer who will ask you what is wrong with the circuits. You will apply what you learned from the lecture slides about what NOT to do and how to debug circuits. You will not be building anything in this project, but these debugging skills are essential for future projects when you have to debug your own circuits. Often times, we might think a circuit behaves one way, but in reality, it might behave a different way.
Lecture Slides
Prerequisites
Helpful Tips
- Check if any components are shorted (i.e. is there a wire across the component)
- Check if any components are open, meaning they aren’t connected to anything
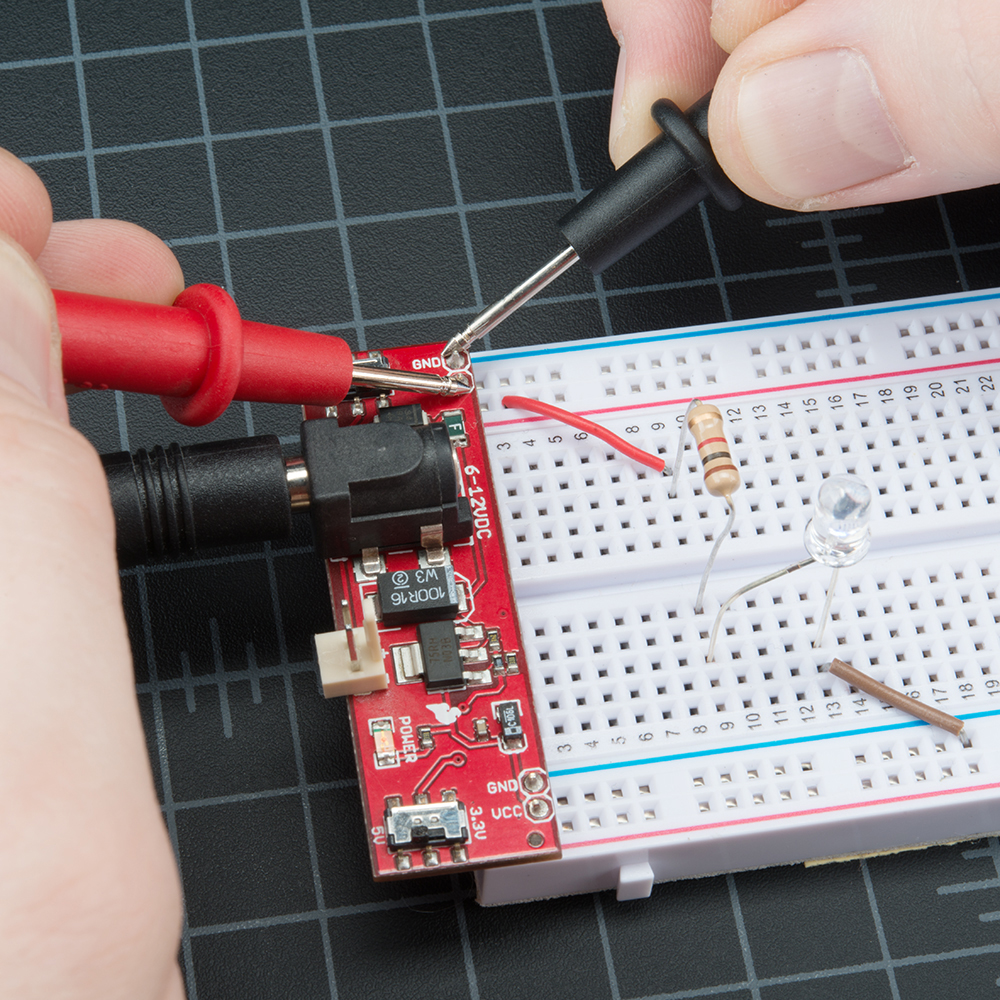
- Use the DMM continuity test for the soldered perfboard circuits to check for the shorted and open parts
Potential Buggy circuits
It is up to the project leads to create buggy circuits for project members to test. The buggy circuits should require members to measure both voltage and continuity using a multimeter. Some possible buggy circuits could be:
- Perfboard circuit with discontinuity in solder trace, use continuity measurement
- Breadboard circuit with short, use continuity measurement
- LED circuit being powered by dead battery, use voltage measurement and inspect resistor
- LED circuit that is not lighting up because the resistor is too large, use voltage measurement
- LED circuit with a backwards LED, use voltage measurement and inspect LED